Make A Tri Fold Brochure 2010
There are many tri fold brochure templates that Microsoft provide for free for you to download. Simply click File > New, select Brochures and Booklets > Brochures. An extensive gallery of brochures (some are tri fold brochures) is displayed for you to choose from.
Sometimes premade templates just don’t hit the spot, though. What if you already have a corporate theme and you want all of your literature to match that theme? This is where you might need to create your own tri fold brochure.
There are two methods you can use. The first method is to split the text on your brochure up into 3 columns, and the second method involves the use of text boxes to divide up the text into 3 sides. The second method proves easier for us to line up and position the text, so that’s the method we’ll use here.
Creating A Tri Fold Brochure Using Text Boxes For Layout
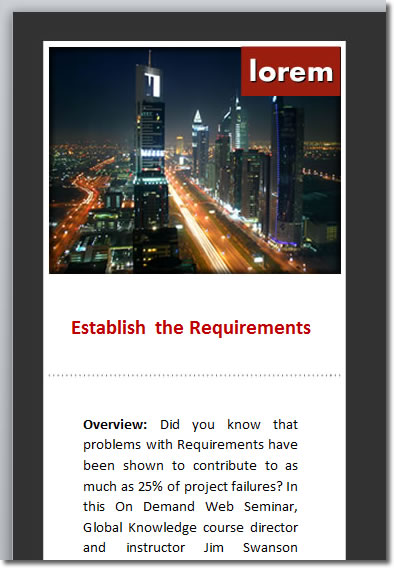
There’s another sneaky little trick we’re going to use to help with our styling. If you look at a lot of tri fold brochures, you might wonder how the designers handled all the complex positioning of images. The smart designers use just one background image that incorporates all the visual elements and place the text on top of that. For example, look at the first page of one of the freely available templates from Microsoft:
That’s an impressive design and you’d be forgiven for thinking that each of the 3 columns has its own set of images. In fact, there is just one background image covering the entire page and text boxes control the layout and position of the text in those 3 columns.
If we’re going to use this technique we’re going to need to create a suitable image in an image editor like Adobe Photoshop, Fireworks or Illustrator. Alternatively, you could ask someone nicely to do it for you ![]()
For the purposes of our tri fold brochure tutorial, here is a downloadable image that you can use.
Click on it to see the full size image and then right click and save it to your hard drive if you want to play along at home.
Using A Background Image For Your Word Document
First of all, let’s change our document to be in landscape orientation by clicking to the Page Layout tab > Page Setup group > Orientation > Landscape. The extra width we now have will give us enough room to fold the page twice to give 3 pages.
You have several options open to you when specifying a background image for your document, but some are better than others. You can insert the picture into your document, but this can be messy as you have to then tweak the positioning and placement in relation to other elements on the page. You can set a watermark but that fades out the image, even if you uncheck the washout option. We want our background image to be crisp and clear.
The best option is to specify a picture for our background like this: go to the Page Layout tab and in the Page Background group click Page Color. Select Fill Effects.
…and then go to the Picture tab. You’re getting warmer. Now click the Select Picture button, locate your background image on your hard drive and click Insert. Voila!
When you click OK, the image is added to the background. It looks pretty good.
That’s the background sorted out and it gives us a guide for placing our text boxes. We’re going to add a heading text box at the top of each section and then we’re going to add a content box a bit lower down. You won’t find heading and content text boxes in Word: they are just plain text boxes that we will use for headings and content.
To add a heading text box, go to the Insert tab > Text group > Text Box > Simple Text Box. When the text box appears in your document, type in a title and resize the box to fit the text using the drag handles. Move the text box over to the left so that it’s in place as the heading for the first column.
Do the same for the content text box. I used a larger font size and a different text colour for my heading.
You might have something like the following image in the first column now. Repeat this process for the other two columns and you are done.


